

GePP Details
In our previous article, we briefly explained the basics of GePP - GST e-Invoice Preparing and Printing Tool. In this article, we will list down the steps to prepare and print e-Invoices through the nic GePP offline tool.
What Is GePP?
NIC-GST e-Invoice Preparing and Printing (NIC-GePP online, NIC-GePP_v2.0) is an excel based tool to assist taxpayers who do not have ERP solutions that support the e-Invoicing process. Presently, this tool is available on the e-Invoice trial portal. You can directly nic gepp tool download in excel, this tool here - https://einvoice1-trial.nic.in/Others/GePPInfo. In the above-given link, select the appropriate user type, add the asked details, validate the mobile number with OTP and click on ‘Submit”. The offline excel based tool will automatically get downloaded then.

How To Generate E-Invoice On GePP Tool?
Initial set-up
- Step 1: Enter the Owner/Supplier Profile details on the tool's main menu as a first-time user.


The taxpayer can upload the Company Logo at this step if he/she wishes to attach it to the final e-Invoice.
- Step 2: As a first time user, on the main menu of the tool, enter the Recipient details.


- Step 3: As a first-time user, enter the Product details on the tool's main menu. The taxpayer can upload the Company Logo at this step if they wish to attach it to the final e-Invoice.


How to create e-invoice or E-Invoice Generation
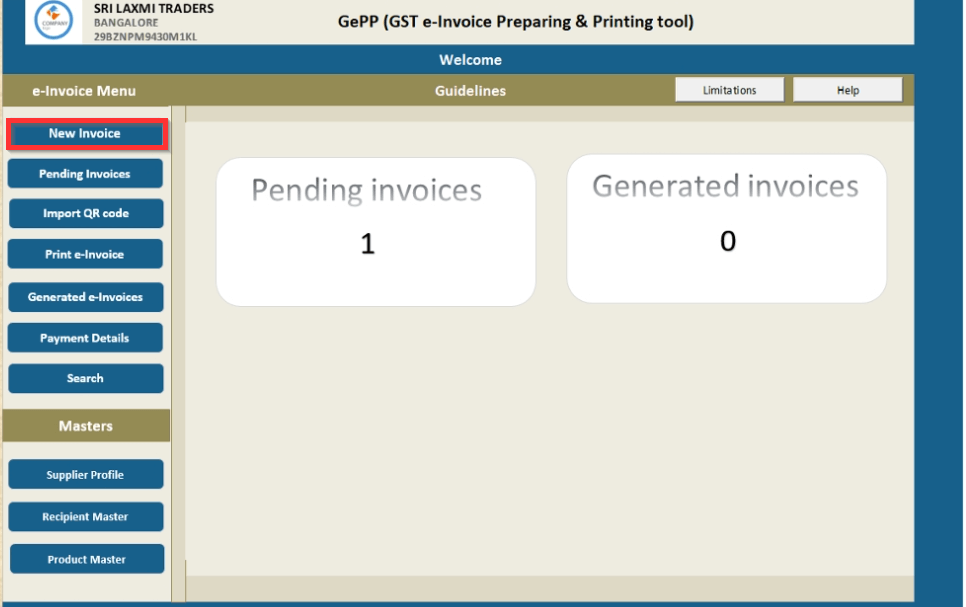
- Step 1: Generate the invoice generation process through an ERP or manually, gepp e invoice tool download and add the invoice tool trial details in the tool under 'New Invoice". The possibilities available in the classification tab are:

The options available in the category tab are:
- B2B
- SEZ
- Export
- Deemed Export
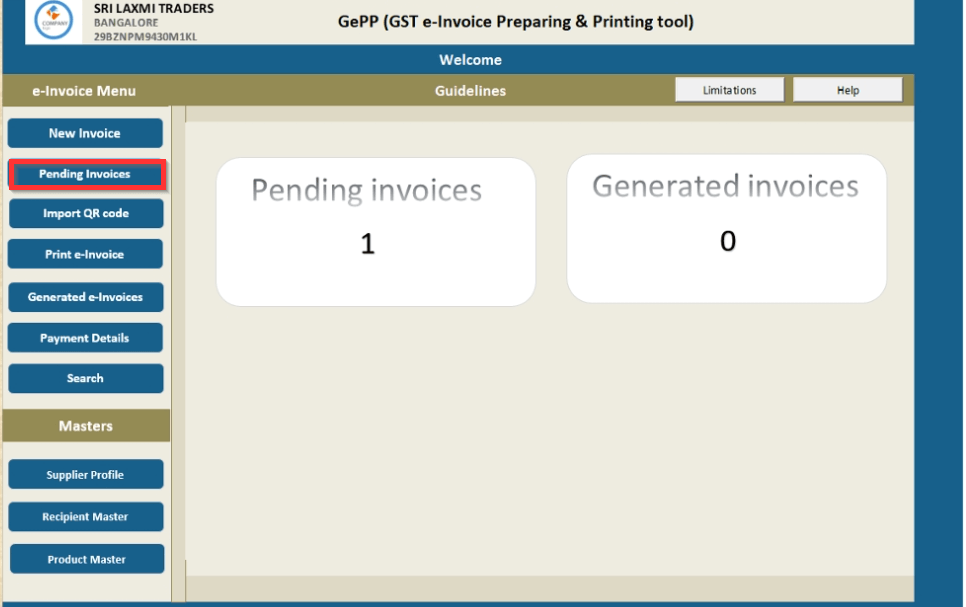
- Step 2: Click on 'Submit', review the details added, and click 'Confirm'. The counted invoices will be visual beneath 'Pending Invoice.

- Step 3: Under ‘Pending Invoices’ validate and generate the JSON file.

- Step 4: Log in to the e-Invoice portal.
- Step 5: Under the ‘Bulk Upload’ option, upload the JSON file, generate IRN and download the response file in excel format.


- Step 6: Under ‘Import QR Code’ import the downloaded file (in the previous step) into GePP e invoice portal login and push to history. In this way, you know that how to import qr code in gepp tool.


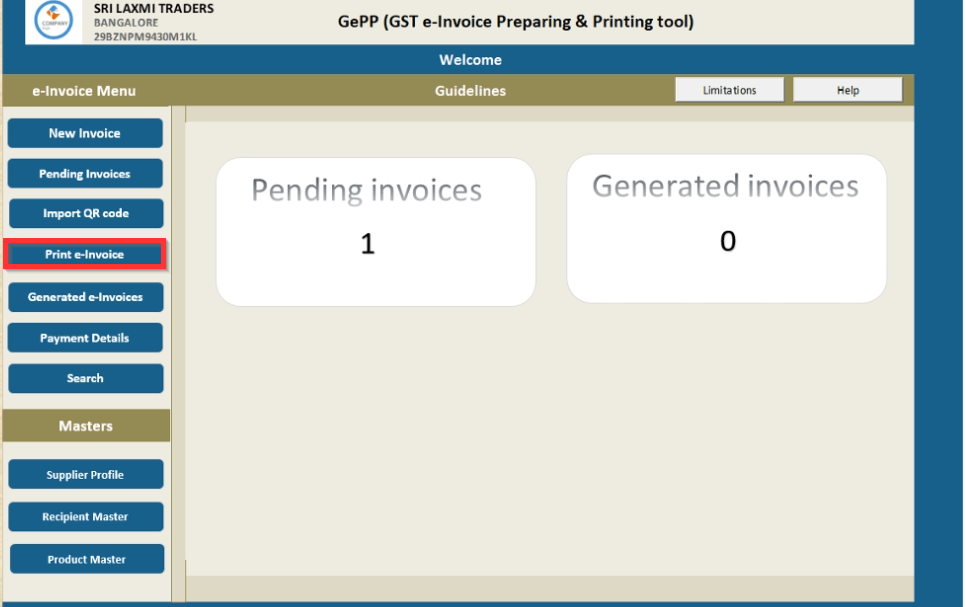
- Step 7: Print e-Invoices from ‘Print e-Invoice’.


Additional Features In GePP Tool
- Taxpayers' individual or corporate can 'Update Payment Details' underneath the 'Generated e-Invoices' tab. This tab operates as storage of all developed e-Invoices.

- The 'Search Facility' helps taxpayers search e-Invoices (nic gepp e invoice login ) from the tool's repository. Users can scour the invoices established on numerous measures.


Points To Remember
- Invoices can be added one by one only.
- Please ensure that you are using 2010, or a higher version of MS office.
- A maximum of 10 invoices can be kept pending for IRN generation.
Need of GST In India | 16 Digit Invoice Number in GST | GST Inspector Salary | Dry Fruits Hsn Code | GST Maintenance Charges
About the Author

- ★★
- ★★
- ★★
- ★★
- ★★

Check out other Similar Posts

CFO Weekly Digest
A weekly newsletter delivering sharp insights, strategic analysis, and critical updates on business, finance, and compliance — designed exclusively for CFOs and Finance Leaders
Masters India is a GST Suvidha Provider (GSP) appointed by Goods and Services Tax Network (GSTN), a Government of India enterprise.
 Procapitus Business Park, 4th Floor, D 247/4A, Sector 63 Rd, Noida, Uttar Pradesh 201301
 info@mastersindia.co


Certified